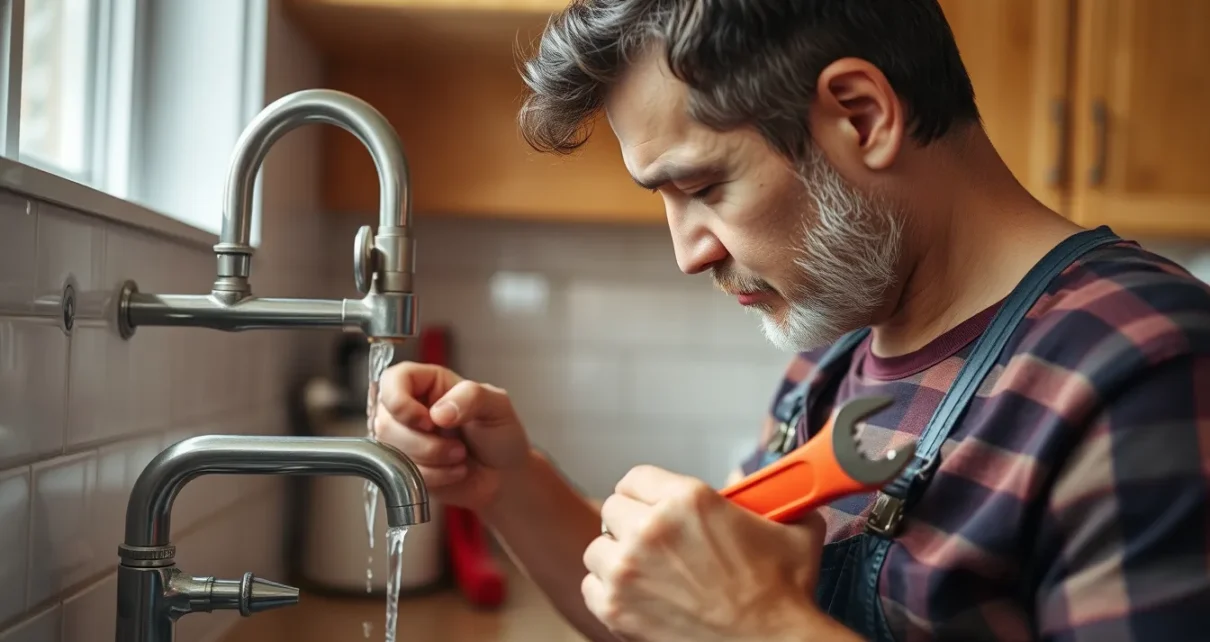
Water leaks waste money and damage your home. This guide helps you identify, locate, and fix common issues like a dripping faucet or running toilet. You will learn how to use basic tools, such as a moisture meter, to track down hidden problems.
We focus on practical DIY repairs for pipe joints and shut-off valves. You will also learn when a simple fix fails and professional help is needed. No jargon, just clear steps to protect your property and reduce water bills.
Spotting the Signs of Hidden Leaks
Before you can repair a dripping faucet or running toilet, you must confirm where the water is escaping. Hidden leaks often exist long before they cause significant damage, so regular inspection is key. Start by checking your water meter. If the main shut-off valve is closed and no water is being used, the meter should remain still. Any movement indicates a leak somewhere in the system.
Locating Leaks in Fixtures and Appliances
Inspecting Faucets and Showerheads
Start at the source. Turn on every faucet and showerhead. Listen for a persistent dripping faucet sound even when the handle is fully closed. Check the spout for mineral buildup or corrosion at the base, which often signals a failing washer or cartridge. For showerheads, inspect the connection to the wall. A slow drip here usually requires tightening the pipe joint or replacing the O-ring. If water pools around the fixture base, the internal seals may be worn.
Checking Toilets and Appliances
Toilets are a primary suspect for constant water usage. Perform a simple dye test: add food coloring to the tank. Wait fifteen minutes. If color appears in the bowl without flushing, the flapper valve is not sealing correctly. Replace this part if worn. Move to the dishwasher and washing machine. Inspect the hoses behind the appliances for brittleness or bulging. Look under the units for standing water. A slow leak from a hose connection can rot cabinetry before it becomes visible.
Examining the Water Heater
The water heater is a large vessel under pressure. Check the base for moisture. Use a moisture meter if you suspect hidden rot in the surrounding drywall or flooring. Inspect the temperature and pressure relief valve. Some dripping is normal after the system cools, but a continuous stream indicates a fault. Examine the pipe joints connecting to the inlet and outlet pipes. Tighten only if loose; do not over-torque metal fittings, as this can strip threads. If corrosion is visible on the tank itself, the unit may need replacement rather than repair.
Finding Leaks in Pipes and Walls
Checking Exposed Pipe Runs
Start with visible plumbing under sinks and behind toilets. Look for white or greenish residue, which indicates mineral buildup from a slow leak at a pipe joint. Check for active dripping or pooling water. If you see dampness but no visible drip, the leak may be inside the wall.
Using a Moisture Meter
A moisture meter detects elevated humidity in drywall or wood. Scan walls near known plumbing runs. If the reading spikes, mark the spot. For higher precision, an infrared camera can reveal temperature differences caused by evaporative cooling, though this is optional for basic DIY checks.
The Water-Meter Test
To confirm a concealed leak, shut off all water sources inside the home. Locate your main shut-off valve and the water meter. Record the meter’s position. Wait thirty minutes without using any water. If the meter’s dial or index moves, water is flowing somewhere it shouldn’t.
Inspecting Walls and Ceilings
Check ceilings for water stains or bubbling paint. Listen for faint hissing sounds in quiet rooms. If the meter test confirms a leak and the source is hidden, avoid cutting into walls until you have narrowed down the exact location. Incorrectly opening a wall can cause unnecessary damage and miss the actual fault.
If the leak is in a supply line behind a finished wall, or if you cannot isolate the source, stop here. Professional plumbers have specialized equipment to trace leaks without demolition. Attempting to fix hidden pipe joints without proper access often leads to worse damage.
Simple DIY Repairs You Can Do Yourself
Repairing Visible Leaks
Once you have located the source, many common issues can be resolved with basic tools. Start by tightening loose connections. Use an adjustable wrench to snug pipe joints that are weeping, but avoid over-tightening, which can strip threads or crack fittings. If a joint is corroded, replace it entirely rather than forcing it.
Replacing Faucet Washers
For a dripping faucet, shut off the nearby shut-off valve. Disassemble the handle and stem to access the internal washer. Remove the old, worn rubber piece and install a new one that matches the size and shape. Reassemble the unit and restore water flow. If the drip persists, the ceramic disc or cartridge may also need replacement.
Fixing Running Toilets
A running toilet usually indicates a failing flapper valve. Remove the tank lid and inspect the flapper at the bottom. If it is warped, calcified, or not sealing properly, detach it and replace it with a new flapper valve. Ensure the chain has slight slack so the valve closes fully. This simple swap stops constant water waste and lowers utility bills.
Sealing Minor Pipe Joints
For small leaks at exposed pipe joints, apply pipe tape to the threads before reassembling. If the leak is on the outside of a copper or PVC pipe, clean the area and apply two-part epoxy putty. Press it firmly into the crack and smooth it out. Allow the epoxy to cure fully according to the package instructions before turning the water back on.
Testing Your Repairs
After completing any repair, run a quick pressure test. Turn the water back on slowly and monitor the fixed area for at least ten minutes. Check for new drips or swelling. If the leak returns, shut off the water immediately and reassess whether the repair was sufficient or if professional help is required.
When to Call a Professional and Prevent Future Problems
- Significant water loss. If your water bill spikes unexpectedly or you detect a major leak that you cannot isolate or stop, stop working immediately. Large-scale failures often involve main lines or hidden structural damage that require specialized equipment to locate and repair safely.
- Structural damage. If water has caused drywall to soften, wood to rot, or floors to buckle, professional assessment is necessary. Mold remediation and structural reinforcement are beyond standard DIY plumbing tasks and pose health and safety risks if handled incorrectly.
- Code violations. If a repair involves changing pipe materials, moving fixtures, or altering the main water supply, local building codes may apply. Improper connections can void insurance coverage or cause future failures. A licensed plumber ensures compliance and proper permits.
Preventing future leaks requires consistent maintenance. Inspect your shut-off valves every six months. Turn each one fully to the off position and back to the on position to ensure they operate smoothly. Stuck valves are useless during an emergency. Listen for a running toilet that hides a slow leak; replace the flapper valve if it wears out. Check pipe joints in accessible areas like basements and under sinks for early signs of corrosion or dampness. Use a moisture meter on drywall if you notice discoloration or a musty smell. Regularly flush your water heater to prevent sediment buildup, which can corrode internal components over time. By addressing small issues with a dripping faucet or slight seepage early, you avoid extensive damage later. Keep a log of maintenance tasks so you know when the last check was performed. This proactive approach saves money and protects your home’s integrity.