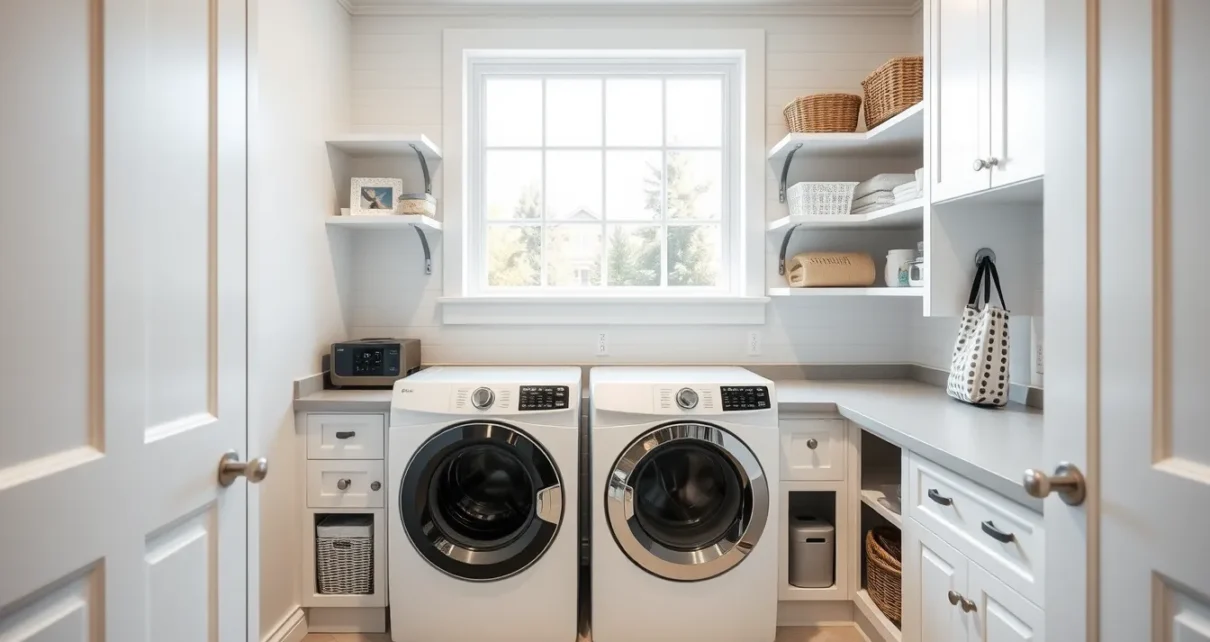
Struggling with cramped corners and awkward lifting? This guide prioritizes workflow efficiency and ergonomic design over aesthetics. It is for anyone ready to stop fighting their laundry space and start using it effectively.
You will learn how to arrange machines, counters, and storage to minimize physical strain. From defining your work triangle to selecting the right counter depth, we focus on practical solutions. The goal is a room that supports your daily routine, not just looks good in photos.
Assess Your Space and Workflow
Before moving a single appliance, measure the room’s dimensions and locate existing plumbing and electrical connections. These fixed points dictate where the washer and dryer can sit. If you are renovating, consider whether shifting these lines is worth the cost and disruption. If not, design around them. Knowing your constraints prevents costly changes later.
Next, observe your actual habits. Do you fold clothes immediately or let them pile up? Do you sort by color or by family member? Track a full cycle of laundry from start to finish. Note where you pause, turn around, or reach awkwardly. This reveals the true path of work, which may differ from the theoretical layout.
Map this path to identify bottlenecks. A common issue is placing the folding station far from the dryer, forcing you to carry heavy loads across the room. Another is insufficient counter depth between the machines and the door, causing collisions. The goal is to minimize unnecessary steps. Your layout should follow the natural flow of tasks: unload, sort, fold, and store. By aligning the physical space with this sequence, you reduce fatigue and save time every week. This assessment phase is critical because it ensures the design serves your specific routine, not just a generic blueprint.
Designing an Efficient Layout
Once you have mapped your task sequence, apply the work triangle principle to the laundry room. In this context, the three points are the washer, the dryer, and the primary folding surface. The distance between these elements should be short enough to allow quick movement but spacious enough to permit safe access. Avoid placing the folding area directly in front of either machine, as this blocks loading and unloading paths. Instead, position the folding surface adjacent to the machines or at a slight angle. This arrangement allows you to transfer clothes in a single, fluid motion without turning your body or stepping back. Keeping the triangle compact reduces the physical effort required for daily loads, making the chore feel less like a workout and more like a simple routine.
Next, determine whether side-by-side or stacked machines better suit your floor plan. Side-by-side units require a combined width of at least four feet. This configuration offers easy front access and is ideal for standard doorways. However, it consumes significant horizontal space, which can crowd a small room. Stacked units, by contrast, free up floor area by occupying only the width of a single machine. They are excellent for narrow closets or tight corners where floor space is at a premium. Consider your available depth when choosing. Stacked units often sit flush against a wall, but you must ensure there is enough clearance behind them for ventilation and hose access. If you have limited depth, check manufacturer specifications for minimum clearances before purchasing.
Finally, integrate the folding surface into the layout as a fixed or semi-fixed element. A built-in bench with integrated drawers offers dual functionality, providing a place to sit and additional storage for detergents or linens. Place this bench so that you can reach both machines without straining your arm. This ergonomic placement minimizes twisting motions and supports a natural posture while working. By thoughtfully arranging these three components, you create a seamless workflow that prioritizes ease of use over static aesthetics. The result is a space that adapts to your movements, reducing friction and enhancing the overall efficiency of your laundry routine.
Optimizing Counter Space and Storage
When you add a work surface between the washer and dryer, aim for a depth that lets you spread a full load of laundry without leaning over the edge—roughly the length of your forearm. The height should line up with your natural waist, allowing you to fold without bending or reaching up. This alignment reduces strain on the back and shoulders, turning the folding step into a comfortable, repeatable motion.
Divide the counter into zones. Keep the front inch or two open for items you reach for daily—detergent, fabric softener, stain remover, and a handful of hangers. Open shelving or a shallow pull‑out drawer works well here because you can see and grab supplies without opening a door.
Reserve the deeper or lower cabinets for bulk purchases, extra towels, or seasonal bedding. Closed storage hides clutter, maintains a clean visual line, and lets you store heavier items at a comfortable pulling height.
- Overhead cabinets: Mount them just above the counter, leaving a few inches of clearance for a light fixture. This uses otherwise dead space and keeps large containers off the floor.
- Wall‑mounted racks: Install a sturdy rack or pegboard for ironing boards, drying racks, or rolled towels. Position it within arm’s reach so you don’t need to step around the room.
- Vertical shelving units: A tall, narrow unit can house cleaning tools or spare laundry baskets, preserving floor area for movement.
By pairing the right counter dimensions with a mix of open and closed storage, you create a workflow that feels natural and keeps the floor clear—key steps in How to Create a Functional Laundry Room.
Lighting, Ventilation, and Safety
Bright, shadow‑free lighting is the first step toward a truly functional laundry room. When you’re separating whites from colors or spotting stains, any dim spot can lead to missteps. Use high‑CRI LED fixtures that spread even light across the counter and shelves, and consider adding a task light over the sorting area to eliminate glare.
Humidity is the silent enemy of laundry spaces, especially in enclosed rooms. A properly sized exhaust fan or a vented window keeps moisture from settling on walls and equipment, reducing mold growth. Pair this with a dehumidifier in larger units, and you’ll maintain a dry environment that protects fabrics and extends the life of your appliances.
Electrical safety is non‑negotiable. Install GFCI outlets near the washer, dryer, and any countertop appliances to guard against electrical shock. Keep cords organized with cable clips, and ensure that all plugs are protected from water splashes. Floor choice matters too—opt for non‑slip, water‑resistant material that can handle wet feet without compromising ergonomics.
These elements—lighting, ventilation, and safety—work together to create an ergonomic workflow. With clear visibility, controlled humidity, and secure power, you can move from wash to fold with confidence, minimizing physical strain and keeping the space efficient.
Adding Ergonomic and Practical Features
When you move from a well‑lit, well‑ventilated space to one that truly supports the body, the small, adjustable elements make the biggest difference. Adding an adjustable‑height folding table lets users set the work surface at waist level or lower, depending on height and the task at hand. This eliminates the need to hunch over a fixed counter, reducing back and shoulder strain during repetitive folding cycles.
For lower cabinets, consider pull‑out drawers instead of traditional shelves. A drawer slides out on a smooth track, bringing items to eye level without the awkward reach into a deep box. This is especially helpful for users who may have limited mobility or prefer to keep detergents, softeners, and small tools organized within easy reach.
Integrating built‑in hampers directly into the wall or under a countertop creates a dedicated drop zone for dirty laundry. By positioning the hamper at a comfortable height, you avoid bending over a floor‑level basket, which can be hard on the knees and lower back. A hinged or sliding lid also keeps the room tidy and prevents stray items from cluttering the workflow.
- Adjustable height → custom ergonomic positioning for all users.
- Pull‑out drawers → eliminates deep‑reach strain and keeps supplies visible.
- Built‑in hampers → reduces bending and streamlines the wash‑to‑fold transition.
These practical upgrades embody the core of How to Create a Functional Laundry Room: a space that adapts to the people using it, not the other way around.